Most of the summer has gone by and Darryl and I realized that we haven’t really shared too much about where we spend most of our summer here at home. I’ve asked Darryl to share with all of you our outdoor space that we have created and builtt together, so take it away Darryl!
Of all the projects that Jodi and I have designed in our place, the outdoor living space has to be my favourite. It has been a journey, and a series of refinements to get to this point. Obviously we’ll never really be done, as there are always going to be ways to make it work better down the road. We wanted to share this with you since we have been spending so much time out there in the past few months. Not that an out door space is an absolute must, but it sure is nice to have some kind of outdoor space to relax, grill, or whatever. This is our space and how we use it.
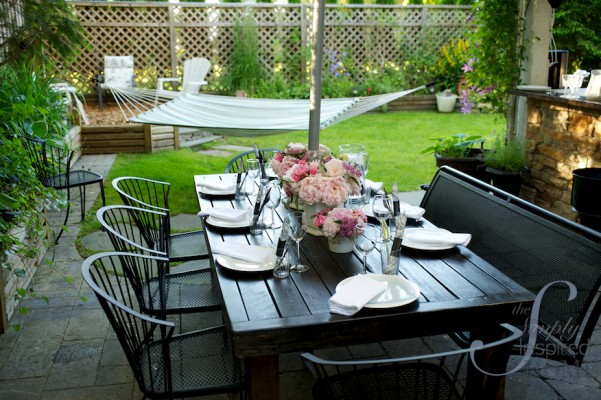
Outside of the fixed landscaping there are three defined spaces and two pieces that we have made to pull this space together. I would like to talk about how and why we made them. The first piece is the 8-foot mahogany table, and the second piece is the outdoor kitchen unit. Both have fairly humble origins and have taken on a life of their own. The landscaping elements, that is a much longer story for another day.
The Table
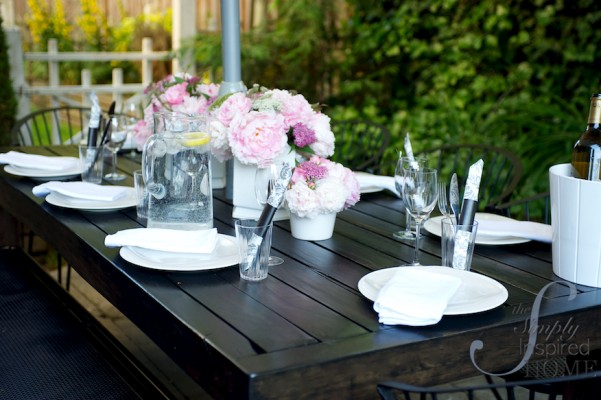
The 8 foot, solid mahogany table was actually designed in reverse. Normally you come up with a design and find the materials and methods to go create it. In this case the table was designed around the materials. It is made up of mahogany dunnage boards that I found at the local building salvage yard. The wood doesn’t look like much to start with, but once planed and sanded it is stunning. And solid. Every single connection point had to be pre-drilled because the wood is so hard. As a result of using that much hardwood, the table is heavy. Really heavy. My estimate is around 300 pounds.
It does make a great anchor for the massive umbrella that we use to cover the area. No worries about it taking off in all but a major windstorm. In fact this umbrella stays up from April to October, thanks largely to the solid anchor it is attached to. We found a massive umbrella at Ikea of all places. It measures 4 metres across (13 feet), so it can shelter everyone from rain and sun, and defines the space.
The Living Area
This area is much more simple, and was created more out of demand than any other reason. With such a nice table to eat at we wanted to spend more time outside, and needed a more relaxing set of seating. We found a large wicker sofa at a garage sale and gave it a fresh coat of spray paint. Then we added a coffee table (a teak bench), and some comfortable outdoor armchairs. Behind the sofa we hung curtains. We live in a townhouse, so these provided some degree of separation and privacy. Although visually they do more to define the back of the space.
The Kitchen
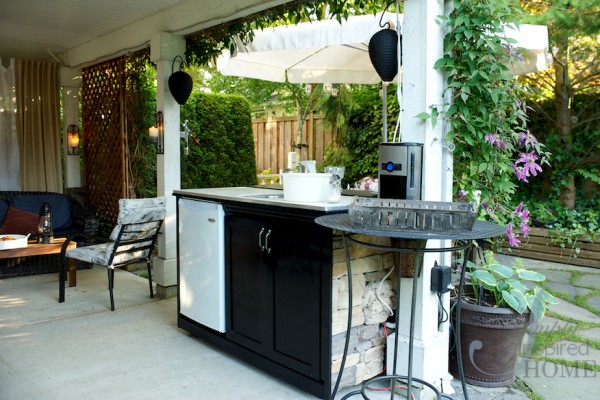
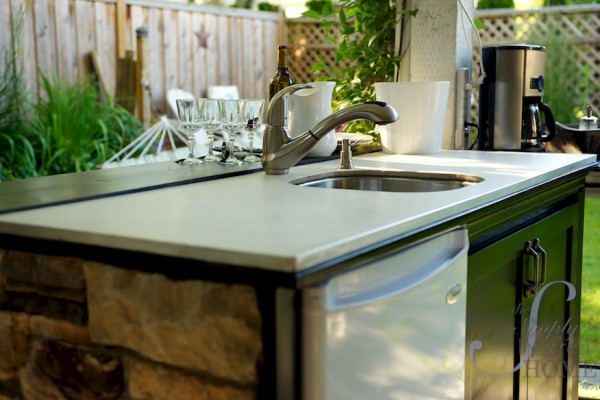
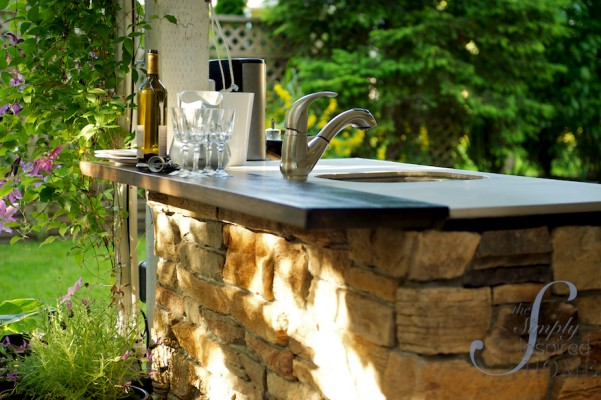
With a comfortable place to sit, and a large table to eat at, we started spending more and more time outside. Constantly hauling dishes and food from the kitchen eventually became a chore that would limit the time we spent outside. That was the motivation behind the creation of the outdoor kitchen. The unit started out as a piece we found at the building salvage yard. I think its first life was as a TV unit or credenza of some sort, but it was made out of some very solid wood so it had good bones. I first stared by removing the interior section of cabinetry.
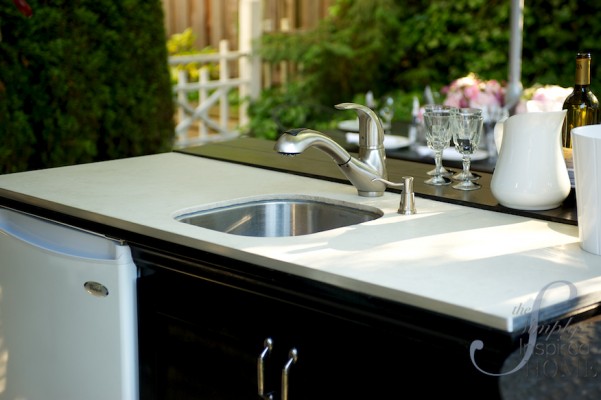
We wanted to get the largest possible refrigerator unit squeezed in there which did involve some creative use of a skill-saw and belt sander to make the room. The next task was to create the opening for a sink and begin to finish the countertop. I used the leftover pieces of 48″ x 24″ x 1/2″ porcelain tile that we had from another project. I had exactly enough left over, and I mean exactly. With the tile countertop secured, it was time to cut out for the under-mount sink and drill for the faucet and soap dispenser. Not an easy task, definitely the most difficult step in the whole process.
Then I added a cantilevered surface at the back end of the unit to extend the surface and give us a place for serving food or drinks from. After that all that was left was to build some shelves and cabinet doors to close in the unit, and to hook up the water supply and drain.
Of all the components of the Outdoor Living Space, the kitchen by far has changed how we live in the summer. By being able to stock food, dishes, etc outside, meals can be completed with less effort or lead in time. Being able to clean up and wash outside limits the back and forth trek into the home for supplies.
Wrap Up
Like any good DIY project this one was a process, not an event. And the motivation came from several seasons of less than stellar attempts at outdoor living. You need to understand your pain or frustrations before you will know how to effectively create a solution that really works for you. I think it can be dangerous, or at least wasteful, to purchase or install someone else’s solution. The benefit to a slow and calculated approach is a very functional space that we can enjoy for a decent portion of the year (mid April – early October in our climate, give or take).
That is our backyard space. Tell us about yours in the comments below…
You guys have such an amazing backyard!! So big, and such a great job making it work for you!
Your backyard is gorgeous and you’ve done such a great job with it! Looove your table!
Beautiful space and I’m sure you love every minute out there.
Very nice! Your hammock is especially speaking to me 🙂