I had the opportunity to work with an amazing client, friend and “used to be neighbor.” They moved around 3 years ago and we really miss them.
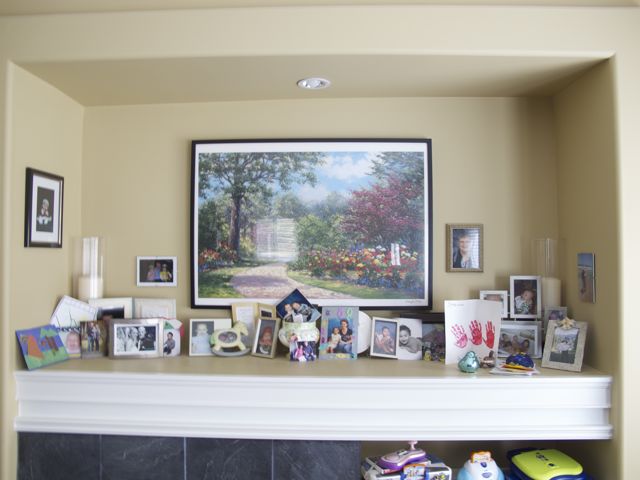
Her dilemma was this….

Need I say anymore?
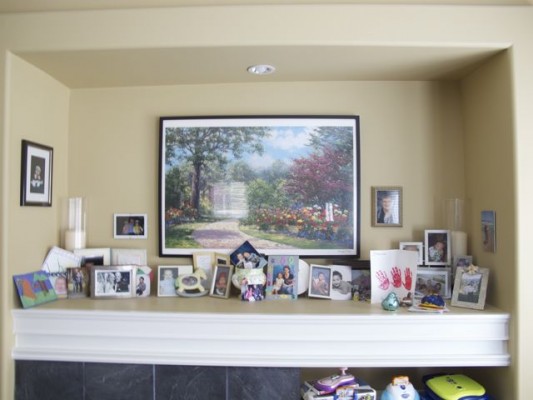
So more than a few months ago I met with her to discuss some of her options, and what she saw the space being used for. She has all these great photos to share and look at every day, but as you can see this space needed cleaning up and the photos deserved to finally be a show case.
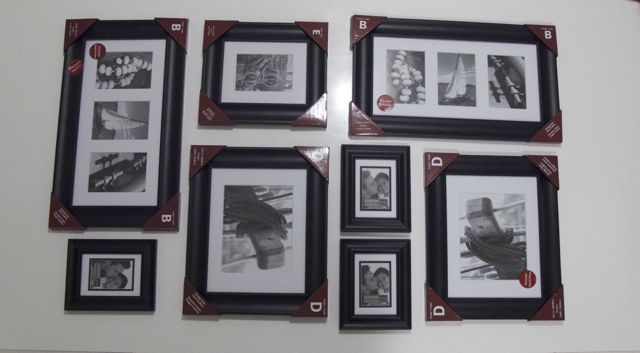
All these frames were hung in about 15 minutes, and I will let you in on how I did it. First thing I did was I got her to measure the EXACT back wall of the space. I measured and cut a large piece of paper that fit exactly into that spot. Finding paper this big was easy when you have a hubby that has a white paper back drop in his photography studio. Thanks Darryl!!! Another option if you can’t find paper that large is take a few smaller strips and tape them together till you have your shape. The next step was playing with how the frames should be laid out. This is the layout that I started with and I made a few tweaks along the way.
This way I was able to lay out the exact position on the paper of how I wanted the pictures to look. This saved myself lots of time when I got to her house for the install. I traced around the frames onto the paper and then measured and marked clearly where the holes should be. Most of them were double mounted, so the measurements HAD to be exact. I will admit this took awhile, but it made it so easy when I got to her house. All I had to do was hang the paper up on her wall with some painters tape, then push holes through the paper and into the wall to tell me where to hammer in the nails.
After all the frames were hung, the wall went from this…

To… This!
I wanted to keep the mantel really uncluttered and clean so she can basically add what ever she wants on either side of the mantle. It could be two simple vases of flowers, or the clear tall hurricane vases that she already has. It’s amazing how different the wall paint looks with good lighting. This color is so much warmer than in the “before” image that I took this past winter with my point and shoot. Thanks Darryl!
So there you have it. A simple mantel that really needed cleaning up and now their family has a means to enjoy all the photos of their wonderful family! This is a fabulous DIY that anyone could do themselves with some favorite frames, a little bit of time and patience and when it’s all said and done you will be glad that you Did it Yourself!
Come back on tomorrow and I will give you some thoughts on Thrift store frames. See you then!
Happy Thursday to you all.
She really wanted to keep it simple, take care of the clutter but most of all be able to finally show off all the amazing photos of her family!


Wow, what a difference. It looks great.