I feel our fireplace is the single most important feature in our home on those cold, wintery, rainy days and nights. Not only is it a source of soothing warmth, but a place where our kids can come down on chilly mornings to warm themselves, sometimes we sit in front of it and enjoy a hot cup of Cocoa, and other times it’s a place where we mingle with family or friends. You get the picture….
Mr. “Holmsey” and I have planned on doing some major work around our fireplace to update the look for quite a while. We are still in the planning process with this project, so there will be something to show you on a later date. The timing has to be right. Meanwhile, it’s my belief that instead of leaving the fireplace alone until we are ready to start the project, it might as well work for me and my tastes right now. I’m big on changing things up, so why not live with something beautiful in the mean time? That’s my motto.
So here’s the shot of our fireplace before my little adventure. I took some shots with my little camera to show you.
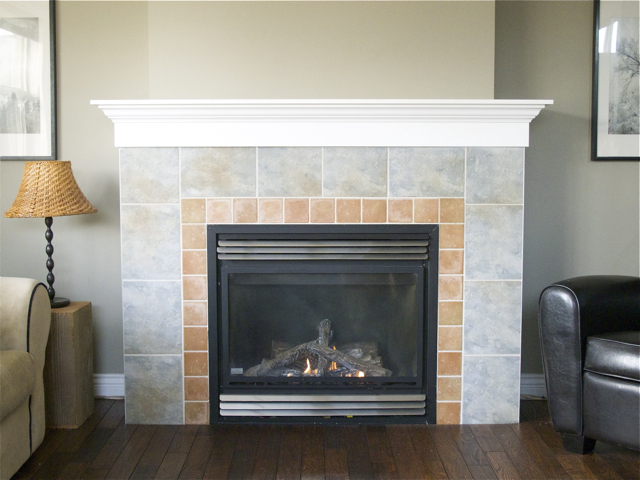
Don’t you love the dated 12 X 12 tiles? ME? not so much! If you’re thinking of doing something like this in your own home then here are the steps to make it happen.
1.I taped off all the edges where the tile met up with the paint on the walls. I primed all the tiles using Kilz primer. I chose this product, so the Actual paint color would adhere to the tiles. I rolled on 2 coats with a foam paint roller, waiting about 20 minutes between coats. Make sure you get into all the grout lines really well.
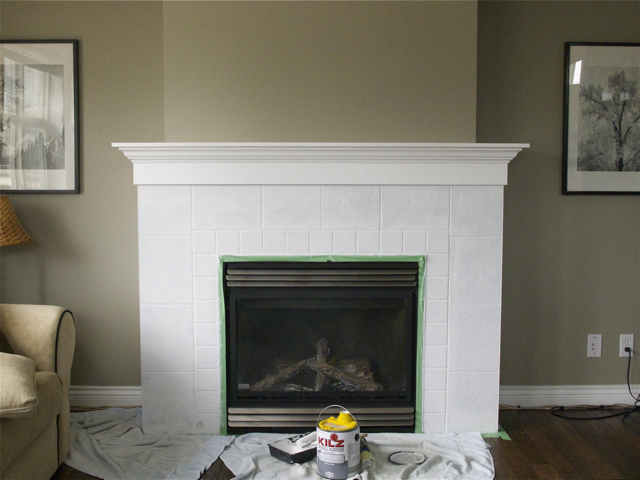
2. After my last coat of primer I put on 2 coats of white paint. Let the paint dry really well between coats. (Eat a shortbread cookie while I wait.)
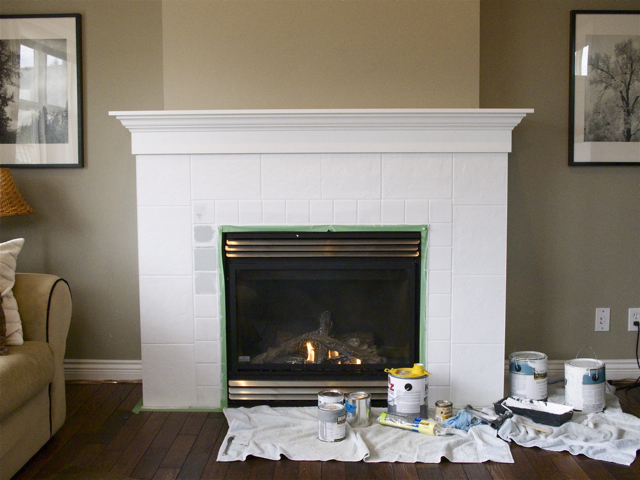
3. I taped off the tiles that I didn’t want to be white. I wanted the fireplace to be very light in color, so I mixed up a custom color using the white, gray and a touch of blue paint that I already had. I rolled on two coats using the same foam roller. Again, the foam rollers totally did the trick.
The Final Reveal!!!
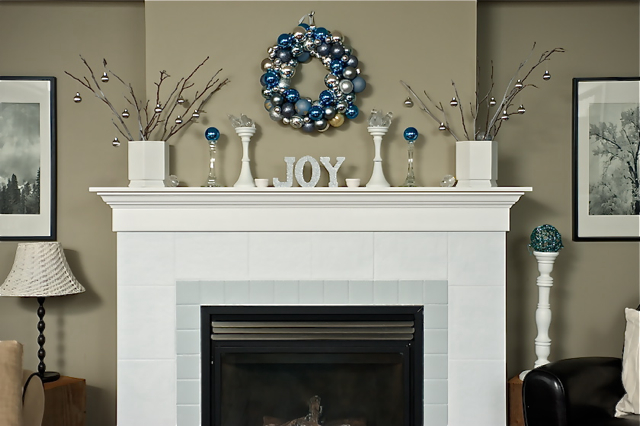
This project was soooooo worth the time, and I think it is stunning! Although, my daughter did voice her displeasure. She doesn’t like it at all. She actually cried. ” Why is it so white?”, she asked.” Well”, I said, “Because I wanted it white”. I’m very certain if I left it in her hands she would have picked a shade of pink or purple.
Not only did I get a refreshed fireplace, but it cost me nothing! ( because I already had the supplies for it) NOTHING….(well except a few hours of my time) How great is that? Now let me explain something to you. If I didn’t already have the paint and supplies, would I recommend going ahead with this kind of project? Not necessarily…. time is a precious commodity. I know all of you know that. If you have plans to change a space and don’t have the supplies like I did, then the other option is to buy a small quart of primer, a quart of white paint, some foam rollers, and tape. The total cost would be around $40-50. Not a bad price for such a dramatic finish.
But of course that’s for you to decide.
Incredible transformation!! WOW. I imagine the room feels a lot bigger now.
Yes, I love it. It’s quite a nice change for the price! Thanks for taking a peek!
Jodi, I love the fireplace! You have such a great vision for things and I know this is not the end product you have in mind, but for the meantime it looks fabulous. Especially all decorated for Christmas! Want to come to my house and decorate? LOL.
I hope you have a wonderful Christmas. Susan
Sure, I would love to come and decorate your mantel! Did you start it yet?
Have a great Christmas as well.
Hi Jodi. Lorraine mentioned your blog in their Christmas letter, so I thought I’d check it out.
Your mantel looks great. Thinking back to when Stewart and Andrea were little, I would never have thought of white….too scared!
Have a wonderful Christmas, and all the best in 2011.
God bless.
Thanks for taking a look. Yes, the fireplace is a nice change for now. Stay posted on other DIY’s.
Merry Christmas to you as well.
I love the color combination! I will be painting my fireplace white as well. What color is your wall? I’m looking for something exactly like it!