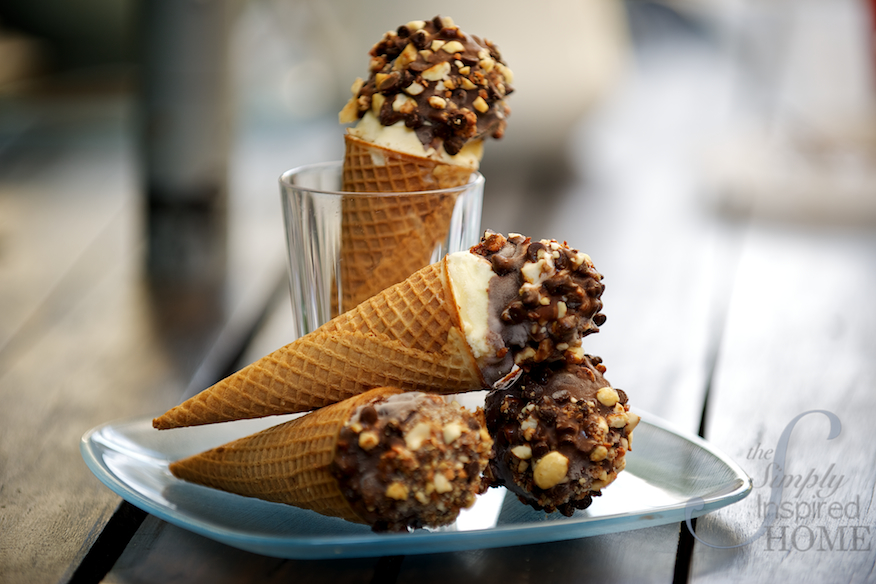
The night of our summer party I served these for dessert. They are to die for. I’ll let the picture speak for itself.

There really aren’t any RULES that go with making these tasty treats, but only a few steps and ingredients that make them really yummy and for the whole construction process to go well.
Making 20 of these babies was interesting, and it took a bit of time to make, but my friends are worth it! What you need for them are these ingredients.
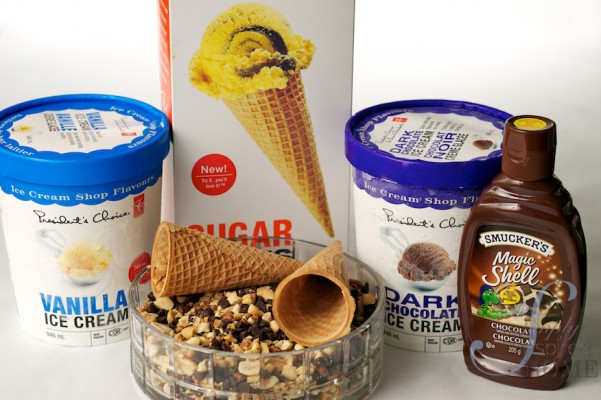
1. sugar cones, any size really or waffle cones if you prefer. The cones I used were from Presidents Choice.
2. Your choice of Ice cream. I chose vanilla and dark chocolate from Presidesnt’s Choice Products.
3. Chocolate coating, to dip the cones in before rolling them in nuts.
4. An assortment of nuts. I chose to make a praline sweet mixture, and added a bit of course salt to it. This gave the topping a bit of salt to balance the sweet chocolate. You can also use plain peanuts or buy your own mix too!
Step 1.
I like to fill the bottoms of the cones with about 3/4 of an inch of the chocolate coating. This gives it that chocolate plug that comes with most drumsticks. It’s not really needed, but I like to take care of those details and it really tastes good! I rested them in a popsicle container so they stayed upright. I could only make 7 at a time, because I only have one popsicle container.
Step 2.
Start filling the cones with your choice of ice cream. Again this was in steps, so if you can get your hands on more popsicle containers that would work way better. Fill the cones up all the way, and put a mound of ice cream on top to the size of your choice.
Step 3.
Freeze the mounds of ice cream and cones over night.
Step 4.
The next day you can pour the chocolate shell mixture in a deep bowl and dip them one at a time. Immediately after the chocolate has dripped a bit, roll the drumsticks in the nuts. Place the cones back in the freezer to harden.
Step 5.
Enjoy!
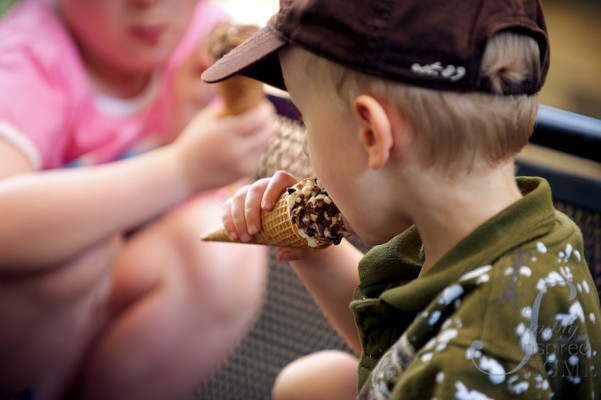
Our kids really enjoyed the left overs the following day after the party! I’ve never had them that quiet before. All of our friends really enjoyed them I will do them again in a heart beat. Maybe next time I will do kid flavors for a birthday party? Cotton candy?
So what do you think? Do you think you would make these, and what flavors should I try for next time?


Jodi. I wish I could have been there for these! They were delicious the last time you made them. I was thinking that a strawberry shortcake variation would be amazing! Or perhaps a twist on the old Canadian Mint bars that you used to be able to find. Mint chip ice cream with lots of chocolaty chunks….mmmmm! I’m salivating just thinking about it! Or perhaps a caramel version…(I’m in my happy place) 🙂
Hi Stewart! They were yummy and we did miss you! Next time.
Ooh, these look sooo yummy, and fabulous pictures as usual!! Thank you for sharing the how-to with us 🙂
YUM! They look yummy. I have to try this, but maybe it would be easier to buy pre-made! Gorgeous photos as usual!
Oh, the home made ones are really great and by no means are the bought ones equal to home made. You have to just taste one taste and you will know what I mean!
Jodi these look amazing! I have always wanted to Magic Shell and these look so delicious and fun! Thanks for sharing your recipe!
Oh this is just naughty, I need one, like NOW! xo