I thrive on change. My dining room chairs were in need of a makeover once we decided to refinish our kitchen table. So the week before Christmas, we committed to a full dining room table and chair makeover. That sounds relaxing, right? At least it would be easier than the complete kitchen renovation we completed last year in the wee hours of December 23rd.
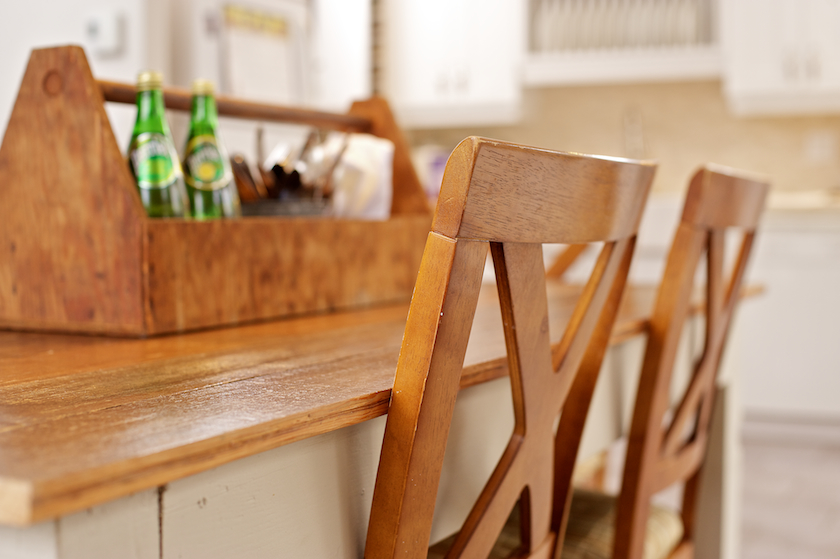
 My husband had built the table out of real old hardwood boards, which gave it some rustic charm. The table has been a feature piece of the kitchen since he built it two years ago. When I started planning this process I realized that the planned stain color for the top of our table will not go with the original color of our six chairs. Well….there’s only one solution to that problem. PAINT THEM!!! The chairs, that is.
In the future I plan to change-up the fabric on the chairs, but for now I’m going to save the money until later. I removed the chair seats by simply undoing some screws under the seats. I’m sure that’s the case with most chairs like this one.
After priming them with two good coats of Kilz Spray primer, I left them to dry about an hour. I made sure I covered all the areas really well with Primer. This really does make a difference on how your paint goes on. Primer is also cheaper than the spray paint itself so naturally it makes sense to cover your furniture liberally with it.
Tips on spray painting:
- Always do your spray painting in a well ventilated area, and wear your mask at all times! I cannot stress this enough. This stuff is stong on the nose.
- Use long, even strokes and keep your spray can parallel to the surface you are trying to spray at all times during your spraying motion.
- I always use Rustoleum Comfort Grip that attaches to your spray can. This makes spray painting a joy (and easier on the hands!). I really do mean that! This tool allows you to have flawless finishes once you master how to use it.
- Always spray numerous light coats from a distance of at least 12″. If you don’t, you’ll soon have drips. Of course that’s speaking from experience!
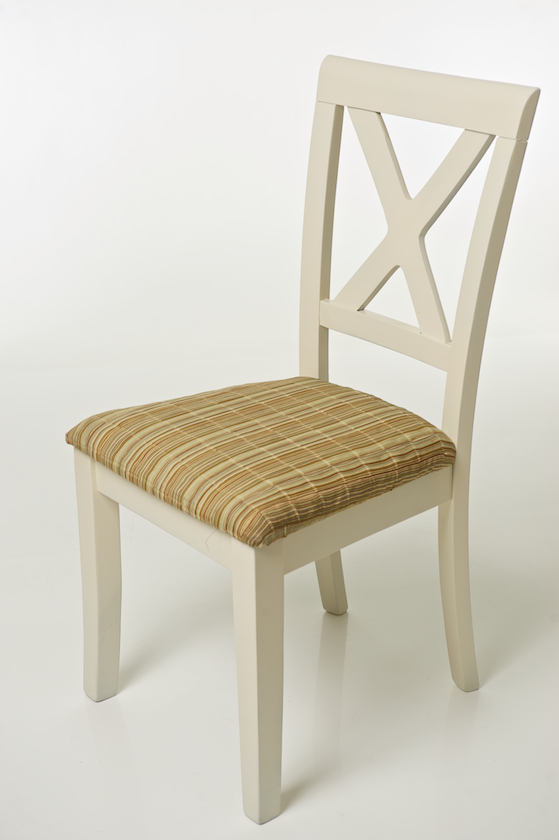
After the primer was dry ( about 30 minutes per coat), I sprayed on my all time favorite color. DRUM ROLL PLEASE!! Rustoleum Heirloom White. It’s such an elegant color. I really had to go over all six chairs with numerous light coatings of the paint, as there are so many angles to get into. This is where my patience had to kick into full gear.
After the chairs were completely dry I gave the chairs a light sanding (basically a polish) with a fine grit sand paper (600). This gave my chairs that “baby bum” smooth feeling when you slide your hand across them. As soon as I was done sanding I sprayed on Rustoleum clear gloss. This gave my chairs a nice glossy finish, and also some durability. After all we have 2 kids in our home. I left my chairs to dry completely before the last step.
For the final step I took the same fine sandpaper and gently rubbed over the surface of the backs and the legs of the chairs. I had to make sure I did this gently as to not remove the clear gloss that I sprayed on earlier.
It’s really that simple. There’s not much to it, just some patience. I’ve had to learn a lot of that in the past 7 years of doing renos. It’s amazing what a simple coating of spray paint can do.

All six chairs look wonderful with the table and I can’t wait to show you that tomorrow.

Thank you Jodi on your spraying tips. I have 2 old chairs (from 1890’s) that I am about to re-do. I have the fabric for them, but have been dragging my feet and working up the nerve to paint them. Your info has definitely helped!
Your chair looks great! Can’t wait to see the whole thing!
P.S. Your husband is quite the builder- that table is amazing!
I’m glad that I’ve inspired you to get started on the project. Good luck with it, I’m sure yours will look wonderful as well.
This post came at the perfect time! After the holidays I want to tackle repainting some chairs that we are going to abscond from my dad (he figured we could use the set of 8 solid chairs better than him, and the ones we have right now are slowly disintegrating before our eyes. One actually gave out under my husband at a party we had lately!). I love the white you used. We have some dark elements to our eating area (big dark brown wall) as well as a lot of whites as well. Would you suggest white chairs or something darker?
oh, I’m sorry to hear that one fell apart. I hope no one was hurt!!
Without totally seeing your space, I would probably say to paint the chairs lighter. It really all depends on the color of your cabinets, the amount of space you have and the other colors on your walls. If you send me a pic of your space, then I can help you a bit more.
Hope that helps. Happy painting.
Hi Jodi, I just bought 4 folding wooden chairs on Craigslist and would like your advice on refinishing. The chairs have metal bracing for the folding and I want to know if I could spray paint them and cover the metal with tape or use a brush instead. Have you worked on any folding chairs before. Thanks, Patti
Hi Patti,
If the metal bracing can be taped off, then I would recomend that first. By no means would I try to paint them by hand with a brush, you’ll just be left with brush marks.
I haven’t worked on a folding chairs before, but if you are a little worried, you are more then welcome to send me a photo and I can post in on my site to get a better look at what you are dealing with.
I am more than happy to help.