Happy Holidays everyone, and “Happy New Year!” will be in order in just a few days. I love having people over, but while I’m add it every now and then I like to create a table design. I usually really like to keep entertaining really simple when we have people over. After all, they came to see me, not my dinnerware. Every now and then I get a strong urge to create a table idea like I’ve never done before.
Last week we had Darryl’s side of the family over (all 11 of us at the Table was so nice!) so it was a good excuse to let my creative juices flow. I had some fun with it and all the kids loved it!
For Today’s post I really want to share some of the points on how I created it and some How to’s that you can take for the next time you create your own table scape.
Who knows maybe you want to create a New Years table?
These are some of my philosophies for helping you to create a table that not only YOU Love, but it’s just another way I like to be creative in my home without spending a lot of money. To be Honest, this Table cost me less than $8.00
1. Have a starting point.
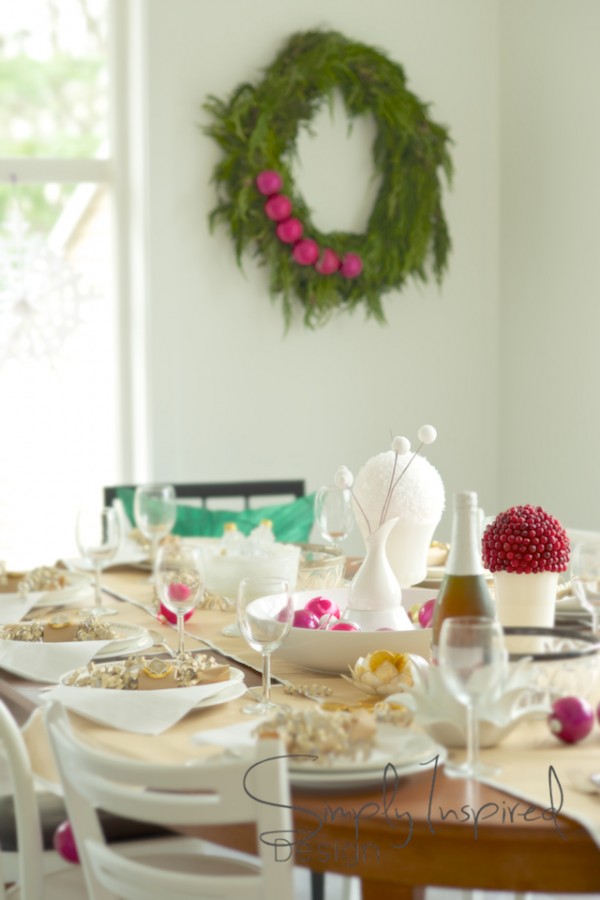
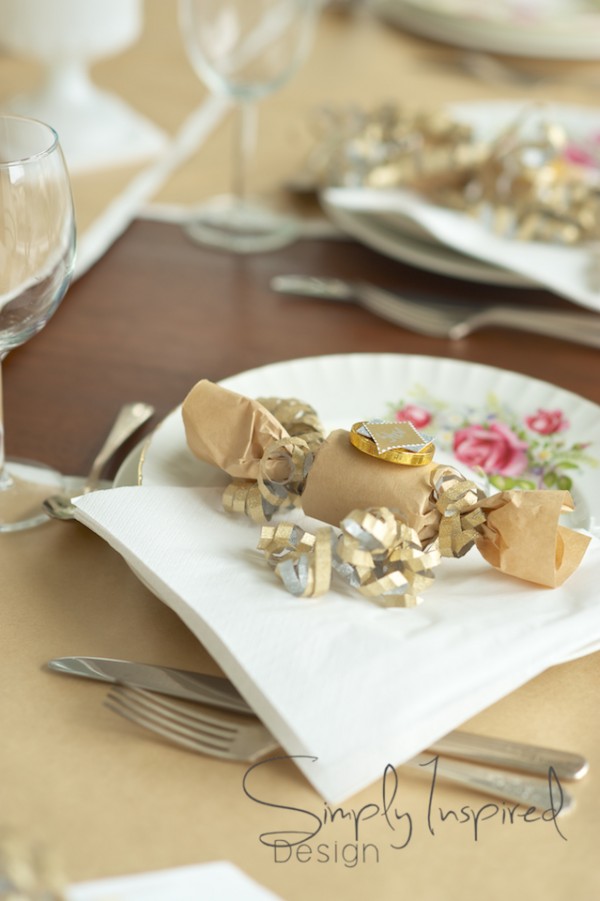
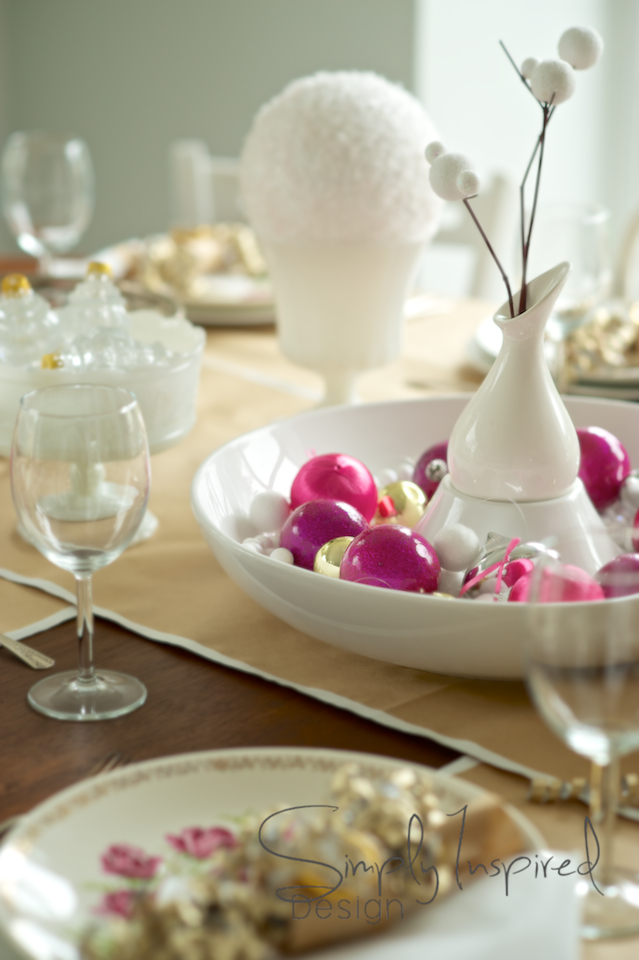
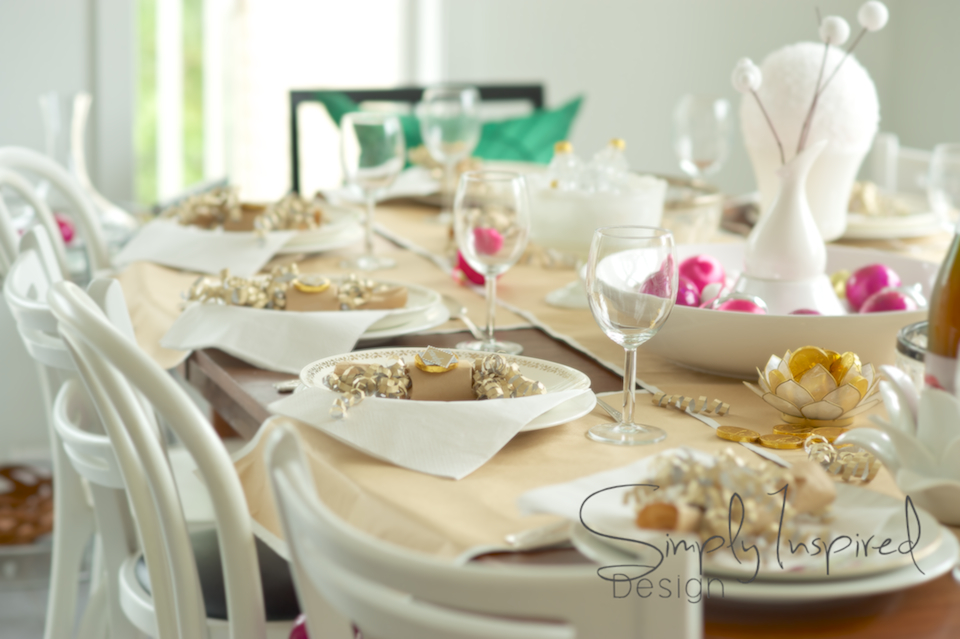
Choose one major piece that you own or want to purchase and choose only 2 colours from it. In my case, my jumping point was these pink rose and gold edge plated china that used to belong to our Grandmas. They are a little bit antique for my taste, but when you mix them with really modern elements I think the overall feel looks really great. I love thinking that at one point they used these for their Christmas Dinners and that makes me happy.
2. Create a theme.
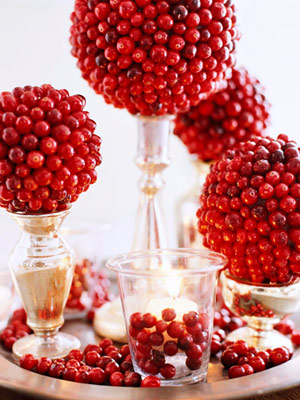
For my theme I chose to base my design around the colours present in the plates. Not only colour can guide you, but the feel for the table as well. I really wanted a winter feel, not just a Christmas feel. I used lots of the white vases that I already had, one filled with a huge snowball (a styrofoam covered in glue and then rolled in Fake snow) and the other with the Cranberry ball that I made.
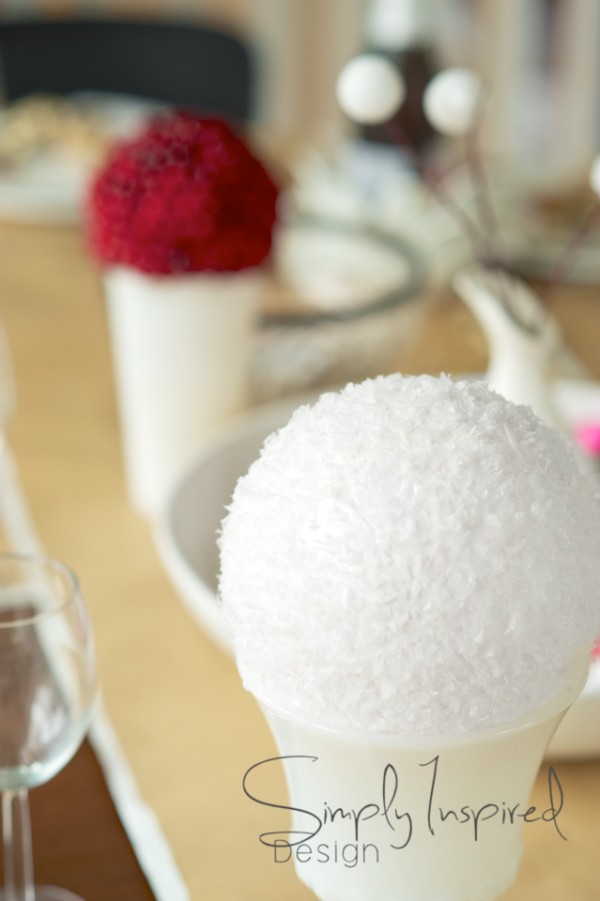
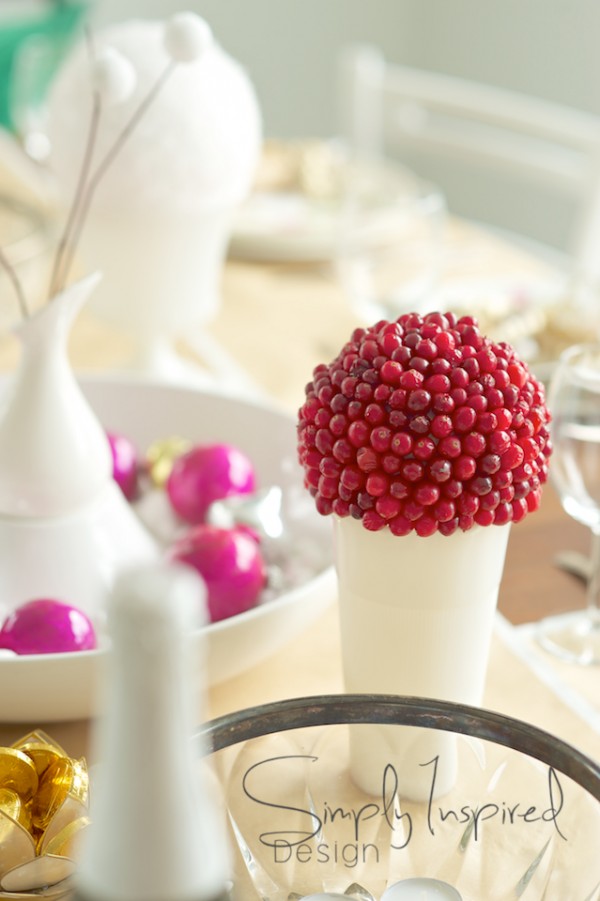
I Will warn you that making a cranberry ball is not as quick and easy as it looks. While the project is easy, these little suckers are time-consuming. Follow this link and you should be successful. One tip that I would pass on is always use fresh cranberries, and go for the bags that sell larger Cranberries. The size of cranberry will make all the difference in how long it takes for your project to be complete.
Aren’t these beautiful? I wish my cranberries were as large as these.
3. Use One or Two colours over and over with varying Textures and Tones.
Repeating one or two colours over and over with the usage of different textures is totally a professional way of creating a table scape. Some of the best tables created by professional party planners use just this concept!
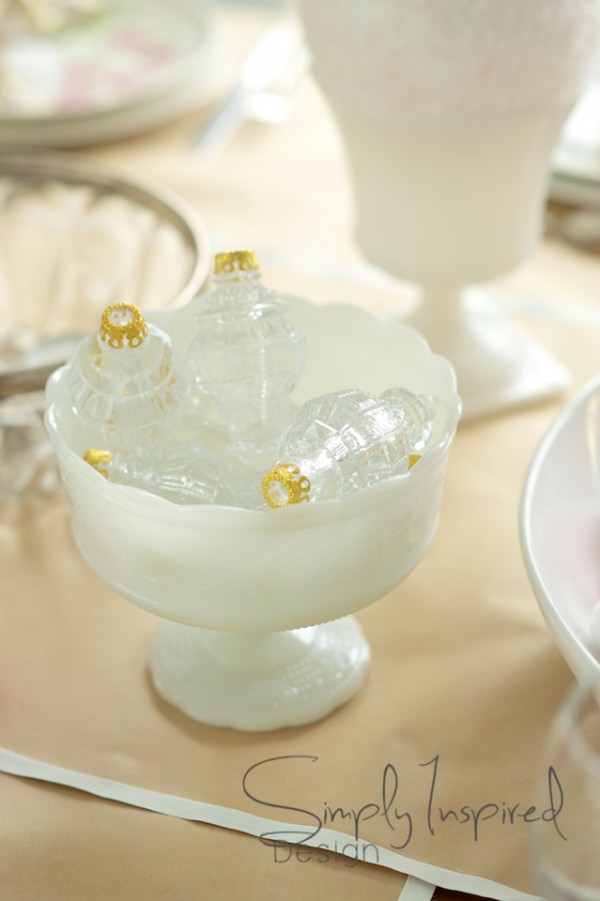
GOLDS:
In the case of my table, I chose to use different textures of gold and hints of silver. Gold Coins sitting in this little candle holder, the ruffled mini crackers sitting on the plates, and the small pops of mini gold ornaments scattered around the table.
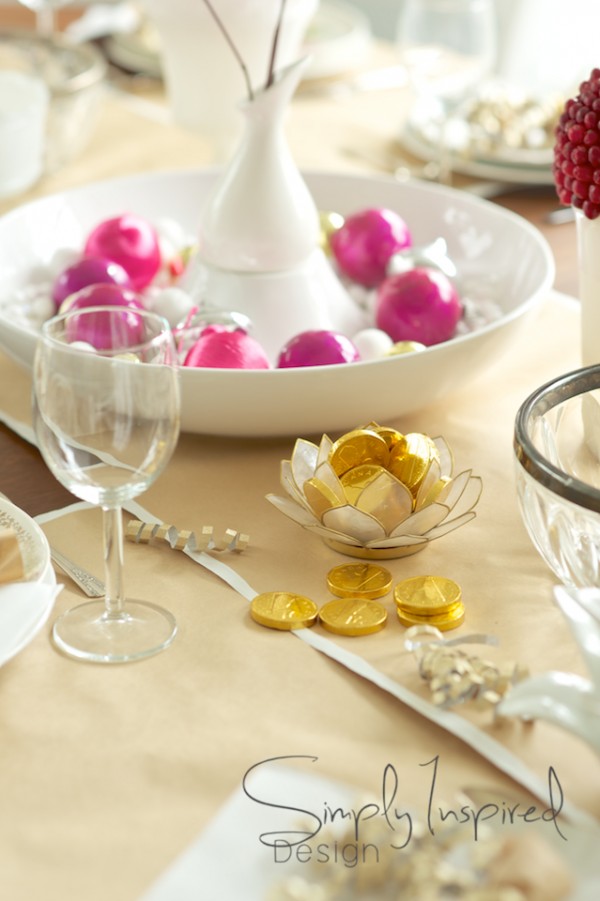
PINKS and REDS:
I’ve had these different shades of pink ornaments for a while now, and this was the perfect table to use them for. You can never have enough ornaments in my opinion so use lots of them. I added the cranberry ball to the table to add another pop of that pink colour. If they wouldn’t have taken so long to create, and I had more cranberries I would have created a few more.
Another idea that I was going to use was to buy a larger poinsettia plant and snip different stems off of the plant and stick them in individual vases down the table. I could have also used red or dark pink roses as well, but I didn’t want the cost of the flowers.
4. Use 85% of what you own, and make or purchase the other 15%.
There’s nothing worse than being stuck with decorative elements that you can’t use, or do not desire to use again. For this table I did just that. Almost my whole table were elements that I already had, and I purchased just a few items to pull it all together.
Just remember: use what you love, follow you’re own rules and if you want to take some of mine then that’s awesome if I’ve inspired you. Use colours that you love, textures that you like, and most of all have fun! I know I did.
We wish you a very Happy New Year! You’ll hear from us in 2013!
Happy New Year! 🙂 I hope you had a wonderful time enjoying your family. We have so much to be thankful for!
These are great tips, Jodi, and I LOVE your table – you did an amazing job! Happy New Year, too, BTW!!!
Thanks Sheila.