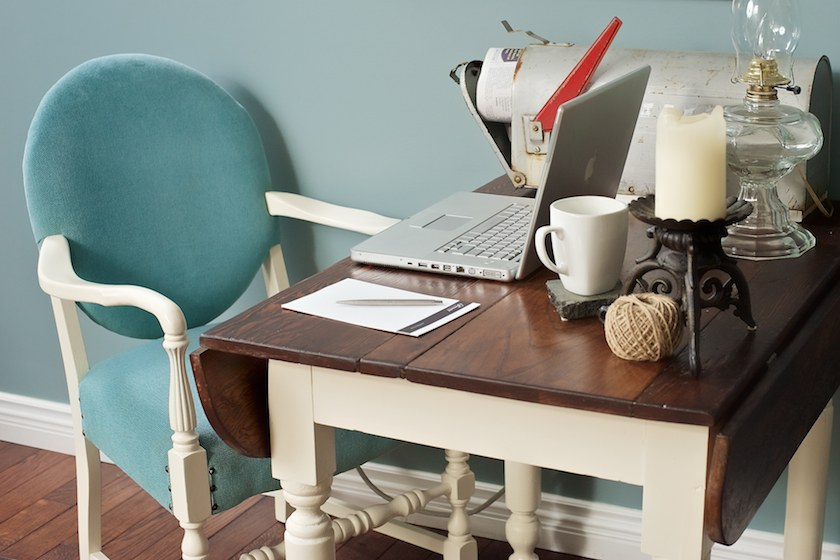
With Christmas behind me, this week has been the “dreaming and planning week”. I have many hopes for this blog and one of them is designing spaces for others as well as designing furniture pieces. I generally do this best at my desk so today of all days I thought that I should share with you how my “temporary office” came to be.

This desk was a wonderful find. I stumbled across it at my favorite Antique store a few months back. It wasn’t this pretty before, so I apologize for the lack of a proper before pic to show you all. Once again I got carried away with starting a project that I forgot all about taking a before picture. This small breakfast table is from the 1800’s and I got it for a steal of a deal for $40. The legs alone should have cost $60 each! I was giddy as a school girl.

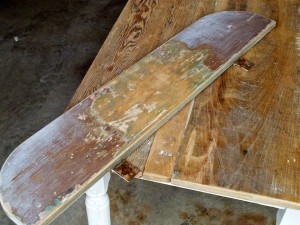
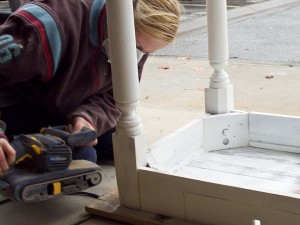
I stripped off all the paint layers, stained the top dark (special walnut), and painted the legs Heirloom white. I plan on selling this piece eventually (that is if I can let it go) so I based my decision to restore the table how I thought it would sell the best. I think it gave the table the best of both worlds. Old meets New.
I restored the table in my Garage with the door up, so it definitely gave me opportunities to get to know some of my neighbors a little bit better. That was a bonus!

I am very happy with how it turned out, and the 40 some hours it took (or at least it felt like that) was well worth the effort that I put in. Nothing comes from sitting around right?
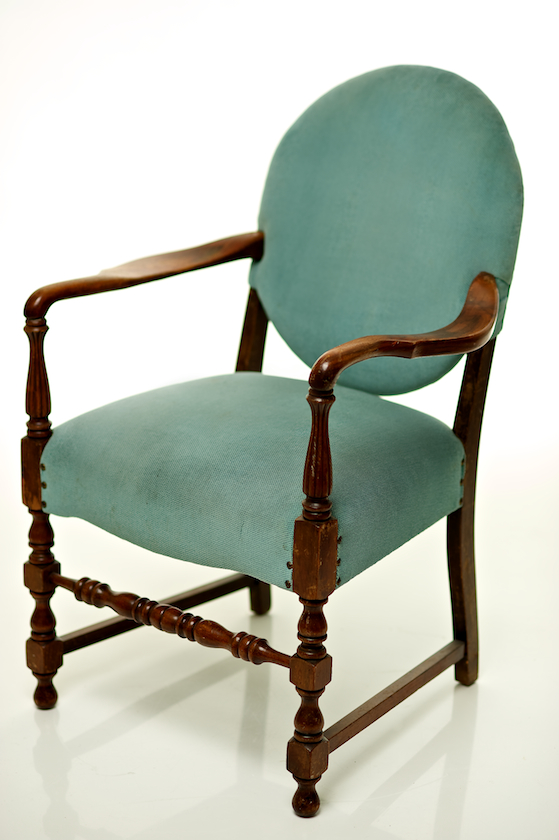
My office chair was a Craigslist find. I knew as soon as I saw this chair it was perfect for my space. I was looking for a chair that had a higher back, shapely arm rests and had a more refined look to it. My search came to an end when I purchased this beautiful antique chair for $25.

The upholstery was still in great shape so all it needed was a good cleaning. I did paint the arms of the chair with Rustoleum Heirloom white. Not only is this chair comfy, it came at a great price, and looks great in my space. What more could a design girl like me ask for?
I should mention, as I was drooling over a Restoration Hardware catalog one evening I came across this chair. Look familiar?

I could not believe the price that I was seeing on the page of the catalog. $1400!!! Could this actually be? No doubt the arms come out at a slightly different angle, and it has a higher back with Tea stained Burlap upholstery. It is definitely an amazing chair that’s for sure, but I could not imagine spending that much on a chair. That’s the price of a running vehicle for goodness sake! Depending on who you ask…
That’s pretty much the two pieces in a nut shell. I enjoy using the desk and chair so much for the combined price of $81.00. This includes $25.00 for the chair, $10.00 for spray paint and primer, $6.00 for staining the table, and $40.00 for the actual table itself. Not bad I say.
Remember, keep your eyes open when you’re looking for furniture. The amazing bones and lines could be missed if you don’t give it a second look. Eyes open my friends!
From my desk to yours,
Happy Restoring.
I just found a similar chair at an antique store in New West! Mine looks like the Restoration Hardware chair except the back isn’t as high. I am about to recover it with a black and white wide stripe fabric and plan on leaving the arm rests and legs the original wood stain! As for your desk, what a great find. Hmmm… wondering which antique shop???? Napier???? Or do you don’t divulge your secrets!
I hope you get your dream accomplished in designing and furniture design, you appear to be full of talent!
I am helping an old friend choose some colours and tile for her renovation, excited but nervous!
BTW: you garden was lovely. I apologize if our weeds from our potato patch made their way into your plot. I had an amazing bounty this year, despite all the weeds, argh 🙁
Happy New Year Jodi!
Hi Barbara,
Ahhh, that chair that you are refinishing sounds great! Very Tailored…
Oh, Napier’s is the only one for me. Ken at Napier’s is great, and runs a fantastic business. There’s always something there to bring home.
It’s nice to hear from you.
Happy New year to you as well.
I have gone a few times but haven’t found much recently. But our kitchen table is from there that my hubby and I bought when we were married 19 years ago. It is a library desk from the 20’s that was bright red and we lovingly stripped it. Love that store!
HI Jodi,
All your work looks FABULOUS! I love seeing your design and creations. I’m just wondering how you sprayed your office chair, getting into the all the little nooks, while protecting the upholstery?
Thanks,
Leanne
Hi Leanne,
To protect the chair we used wide tape and newspaper to completely cover the fabric. It took a little while to get proper coverage.
As for the spray paint, we used the Rustoleum spray handle attachment (attaches to a regular spray can and gives a comfort grip and pressure control). The trick is to paint from all angles, so you move as much it as much as you can, and then turn the chair upside down and repeat.
I think we easily did 5 layers of paint and a few layers of clear, with super fine sanding in between.
To do it right it is not a quick job.